
This lesson is made with PSPX9
But is good with other versions.
© by SvC-Design
Materialen Download :
Here
******************************************************************
Materials:
Decor1BySoxikibem.png
Grisi_Misted_Land_345.pspimage
MR_Keri.png
Narah_Mask_1407.jpg
tituloSlateBySoxikibem.png
******************************************************************
Plugin:
NO
******************************************************************
color palette
:
******************************************************************
methode
When using other tubes and colors, the mixing mode and / or layer coverage may differ
******************************************************************
General Preparations:
First install your filters for your PSP!
Masks: Save to your mask folder in PSP, unless noted otherwise
Texture & Pattern: Save to your Texture Folder in PSP
Selections: Save to your folder Selections in PSP
Open your tubes in PSP
******************************************************************
We will start - Have fun!
Remember to save your work on a regular basis
******************************************************************
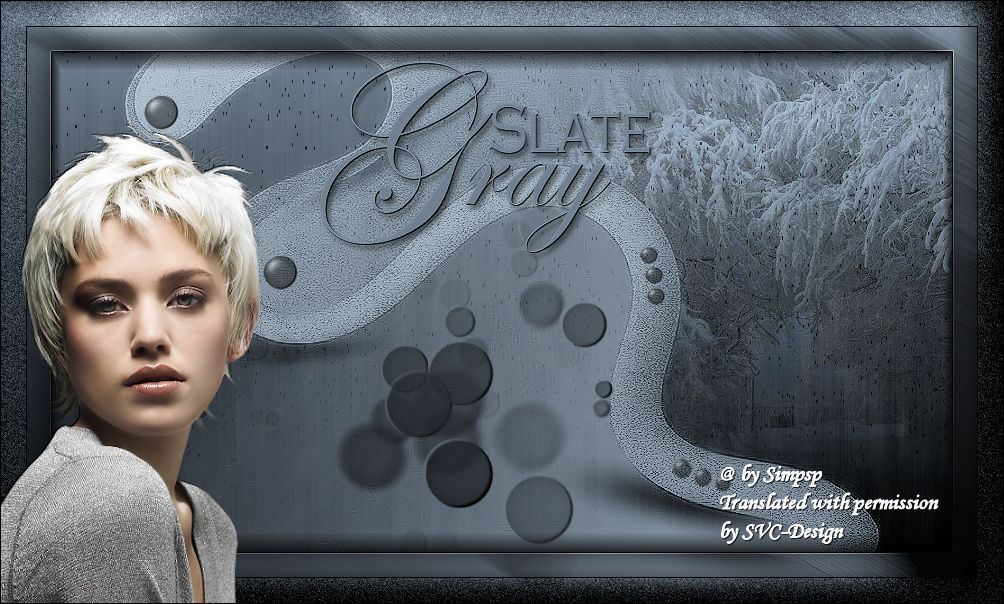
1.
Open the material on the PSP, duplicate and close the originals.
Choose 2 colors to work with:
Foreground: #000000
Background: #708090
2.
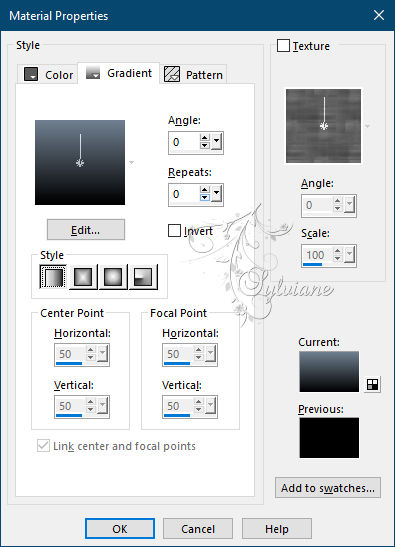
Open a new transparent image of 900x500 pixels
Paint with a Linear gradient formed by the foreground and background colors
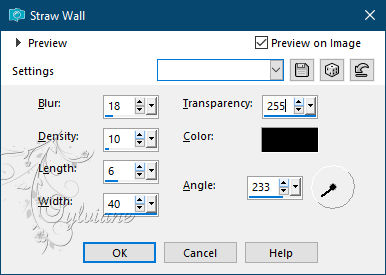
3 .
Effects - Texture Effects - Straw Wall
4 .
Layers - New Raster Layer.
Paint with the color of the background.
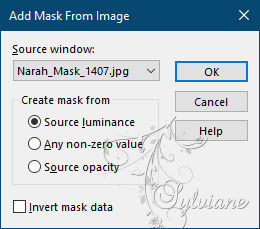
Layers - New Mask Layer - From Image
Narah_Mask_1407.
Effects - Edge Effects - Enhance.
Layers - Merge - Merge Group.
Blend Mode: Screen.
Layers - Duplicate.
Layers - Merge - Merge Down.
5.
Open Grisi_Misted_Land_345.pspimage
Edit - Copy
Edit - Paste a New Layer.
Position to the right of the job

Use the Eraser tool or the Free Hand Selection tool to erase the
of the landscape that stand on top of the curve of the mask
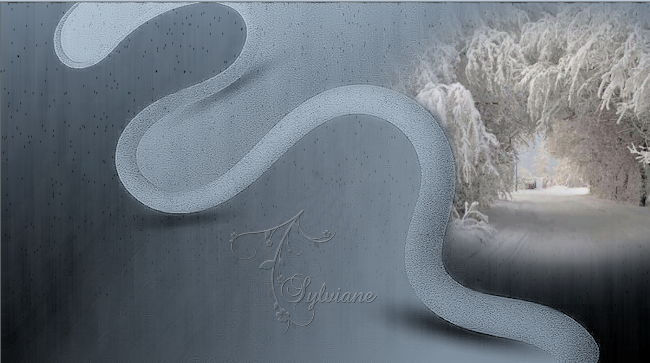
Blend Mode: Overlay
6.
Layers - Merge - Merge Visible.
Open Decor1BySoxikibem.png
Edit - Copy
Edit - Paste a New Layer
Activate selection tool (Press K on your keyboard)
And enter the following parameters:
Pos X :7 – Pos Y : 42
Press M.
7.
Image - Add Borders - Symmetric - 1px - color: #000000 (black).
8.
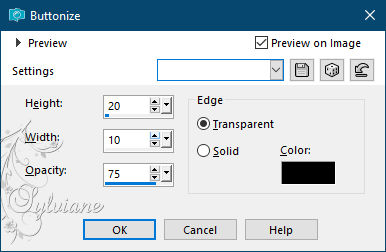
Selections - Select All.
Effects - 3D Effects - Buttonize
9.
Edit - Copy.
Selections - Select All.
Image - Add Borders - Symmetric - 50px - with any color.
Selections - Invert.
Edit - Paste Into Selection.
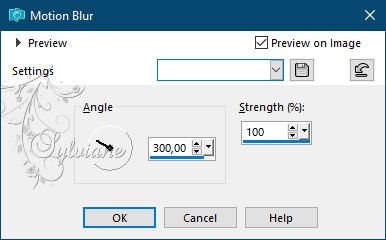
10.
Adjust - Blur - Motion Blur
Effects - Edge Effects - Enhance.
11 .
Selections - Invert.
Effects - 3D Effects - Drop Shadow: 0, 0, 80, 50 color:#000000
Selections - Select None.
12 .
Selections - Select All.
Selections - Modify - Contract - 25 pixels
Selections - Invert.
Adjust - Add/Remove Noise - Add Noise: Gaussian
25 - monochrome marked.
13.
Effects - 3D Effects - Drop Shadow: 1, 1, 100, 0 color:#000000
Effects - 3D Effects - Drop Shadow: -1, -1, 100, 0 color:#000000
Selections - Select None.
14.
Open MR_Keri.png
Edit - Copy
Edit - Paste a New Layer.
Position to the left.
Effects - 3D Effects - Drop Shadow: as you prefer.
15.
Open tituloSlateBySoxikibem.png
Edit - Copy
Edit - Paste a New Layer.
Position as you like.
16.
Image - Add Border - Symmetric - 1px - color: #000000 (black).
17.
If you wish, resize your work
Apply your watermark or signature.
Save as JPEG
Back
Copyright Translation © 2021 by SvC-Design